Posted by William Heinselman on
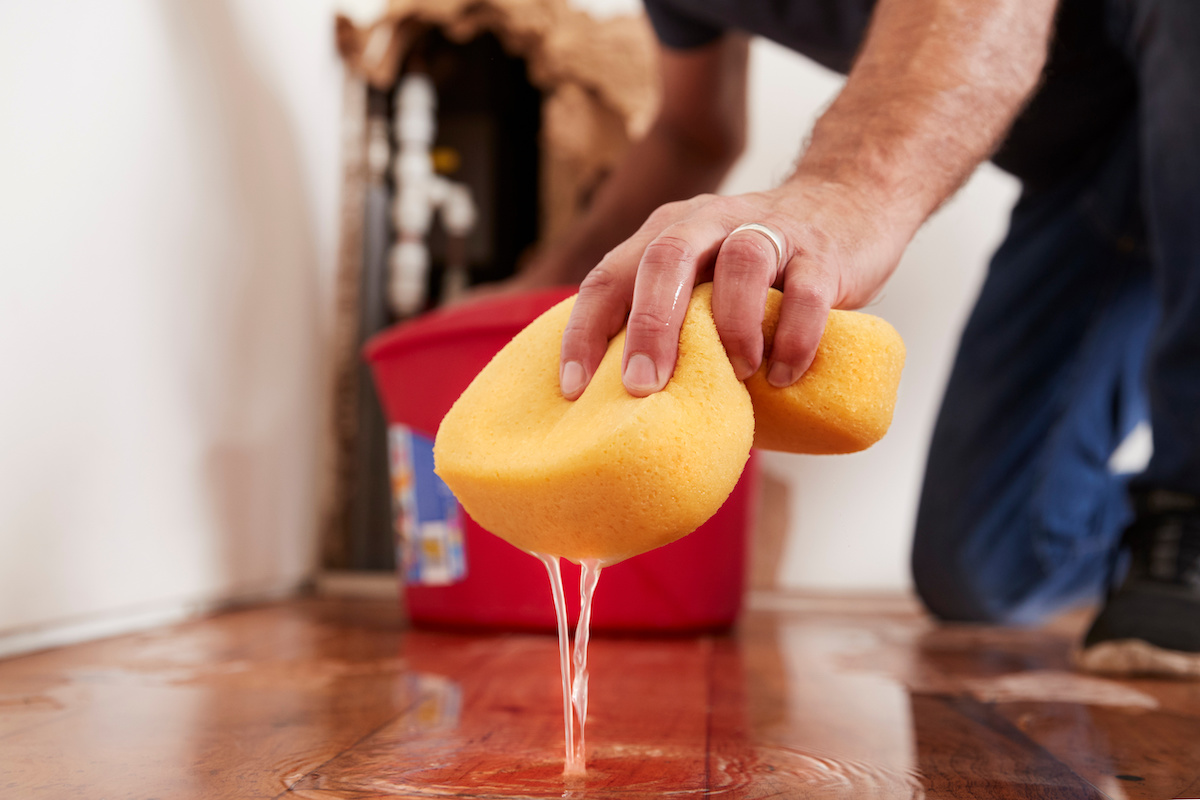
 As we’ve said time and time again, homeowners should generally leave sprinkler and irrigation system repairs to trained specialists; there’s a lot that could go wrong with DIY irrigation work, particularly during large-scale yard renovations. While you should always speak with a professional plumber prior to and during these kinds of projects, there are some tasks you can handle on your own.
A broken sprinkler head or line is a common home plumbing problem that you can likely manage on your own with a little know-how and some handy tools, at much lower cost than hiring a plumbing expert.
Note that all of the following steps do not apply to pop-up sprinkler heads, which can be easily replaced by digging down to the sprinkler’s riser (which connects the sprinkler to the irrigation system), unscrewing the broken sprinkler head and attaching a replacement.
Without further ado, here’s a broken down guide to fixing a broken or faulty sprinkler.
Step 1: The Materials for the Job
The first step of any DIY plumbing renovation is gathering the materials and tools you need to handle the task at hand; this applies to broken sprinkler head repair, just as it does for replacing a faucet or installing a new shower head.
The following are plumbing tools and materials that are a must for DIY sprinkler head repair:
- A small shovel or trowel
- Liquid pipe glue or PVC adhesive
- Handsaw or pipe cutters
- Male coupler
- Replacement sprinkler head identical to the broken model; you may have to remove the broken sprinkler and confirm model type first, before purchasing a replacement.
- Threaded PVC tee fitting
Once you’ve gathered your arsenal of sprinkler repair tools, it’s time to start digging.
Step 2: Clearing the Area and Accessing the Sprinkler
With shovel or trowel in hand, start careful digging around the sprinkler head in question. When digging, leave enough room for your hands to reach the entire sprinkler head unit, as well as the riser (the pipe segment connecting the head to the irrigation line). You should only have to dig around 6-8” to access the whole sprinkler unit.
If you can, set aside a piece of sod to cover the dig area later, once the sprinkler head or riser line has been replaced.
Step 3: Removing the Sprinkler or Line
Now that you have access to your sprinkler and irrigation line riser, determine whether the task requires replacing just the sprinkler unit, or the irrigation line as well. If the irrigation line is severely broken or faulty, you may want to contact a plumbing specialist to deal with the problem. However, if the break is a minor irrigation line failure, or solely within your sprinkler head, you can probably resolve the problem on your own with the tools provided.
Step 4: Replace the Sprinkler Head and Riser
For sprinklers without pop-up head features, you may have to cut out the riser connecting your sprinkler to the irrigation system (this is where that trusty handsaw or pipe cutter comes into play). Attach a threaded tee fitting to the existing pipe, and a male coupler onto the tee fitting once it’s in place.
Then, replace the sprinkler head with a new, identical model and make sure it’s level to other sprinkler heads in your system. With the new sprinkler head installed, coat the pipe and tee fitting with pipe glue, as well as the inside edges of the fitting.
Step 5: Filling in the Gap
Once the glue has hardened, you can refill the initial hole and attach the spray nozzle to your replacement sprinkler head. Make sure the dirt is compact, to keep the new sprinkler in place and level with other units.
There you have it: a replaced, fully functional sprinkler unit, installed at a fraction of the cost compared to hiring a professional. For DIY home plumbing repairs, a lot of your success depends on how familiar you are with your plumbing systems, and the time you take to prepare.

Topics: DIY