Posted by William Heinselman on
 Do-it-yourself (DIY) plumbing projects are often much simpler than homeowners acknowledge, and having the correct tools, and knowing the right preventative techniques, can save hundreds of dollars in later renovations. Here, we have compiled a short list of DIY plumbing tool essentials, as well as outlined a few select kitchen repairs you can complete without professional plumbing services.
The Tools for Success
For almost all DIY kitchen renovations, there are a few choice tools homeowners will want to have in their repair arsenal. These tools, which perform the essential functions of kitchen pipe repairs, can be found at your local hardware of home goods store.
- A pipe wrench, which uses strong, serrated teeth to tighten and loosen pipes and fittings.
- A basin wrench, a common plumber’s tool featuring an elongated neck, used to grip the hard-to-reach nuts and components in the narrow space behind a sink.
- A pair of tongue-and-groove pliers, which use serrated jaws to grab, pull, twist or loosen nuts.
- An adjustable wrench, which effectively loosens and tightens hex-shaped nuts. These wrenches are commonly used to work with supply lines and compression fittings.
- A sink plunger, which is a more narrowly focused variation of a toilet plunger, used to dislodge and remove compact clogs in sink drain pipes.
- A plumber’s snake, essentially a steel cable, that is used to clear clogs and drains when plungers cannot.
- A hacksaw, which is used for more significant repairs that require physically cutting pipes and fixtures.
- A metal file, which plumber’s use to smooth cut pipe edges after sawing. These files are essentially plumbing sandpaper.
With these basic tools, you can more ably begin DIY plumbing operations, and minimize potential difficulties along the way. If you cannot find these tools in your area, or feel that unfamiliarity with this equipment can lead to further pipe damage, you should call your preferred plumbing service for assistance before attempting DIY restorations.
Keep in mind that additional tools and resources may be required for specific DIY jobs.
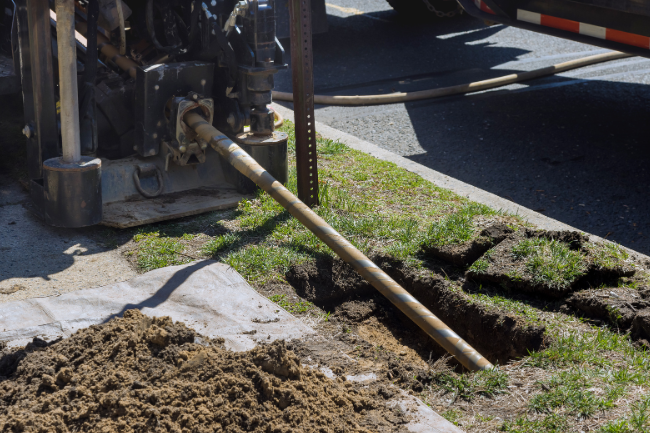
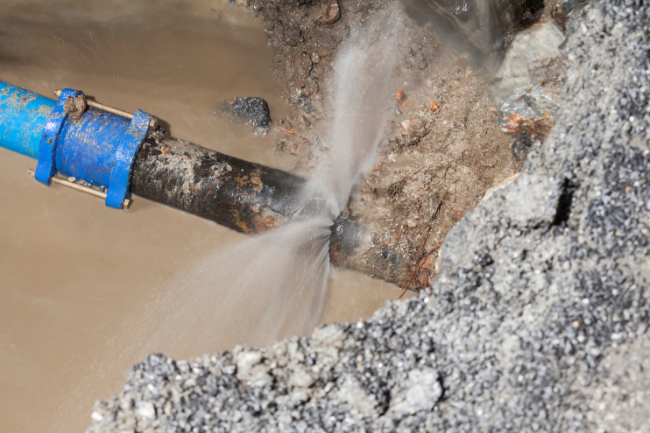
The Repair: Damaged Pipes
If you have identified cracks, leaks or ruptures in your kitchen’s water pipes, do not feel overwhelmed. With a few short and simple steps, that pipe damage, and its effects on your water lines, can be minimized. When dealing with metal pipe damage, simply clasping a piece of inner tube or other plastic material over the leaking or cracked area can temporarily resolve the problem. For permanent metal pipe repairs, you may have to contact your local plumbing professional for more thorough renovations.
When dealing with PVC pipe damage, you can actually fully repair the pipe by yourself using DIY techniques and water pipe replacement.
First, turn off the pipe’s water supply and use a hacksaw to cut out the affected areas. Plumbing professionals suggest removing at least 12 inches of pipe. Then, cut a new PVC pipe segment one-fourth of an inch shorter than the removed section. Use PVC glue on one end of the new pipe to attach a coupling piece, and then attach this coupling to the existing pipe. Repeat this gluing on the other end of the pipe, and let the finished fixture sit for about 30 minutes. The result should be a fully functioning, new pipe segment.
When dealing with more significant water pipe repairs and replacements, contact a plumbing professional for their experienced assessment.
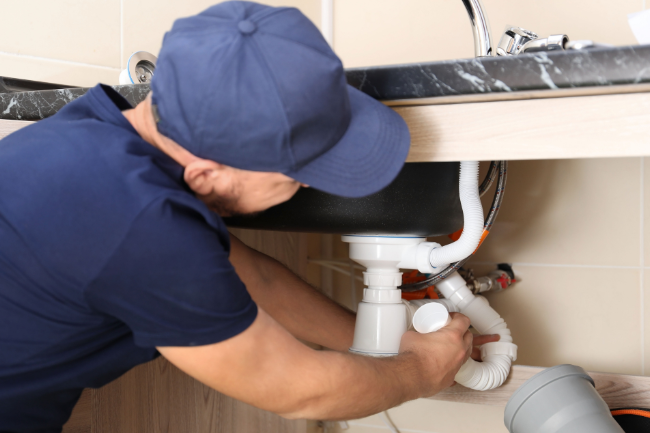
The Repair: Faucet Replacement
The process of replacing an old, leaky or rusted sink faucet is surprisingly simple, and can be done almost effortlessly by homeowners.
First, you must shut off water flow using pipe valves under the sink, and disconnect water lines linked to the faucet using a basin wrench. Remove the faucet’s mounting nuts (located under the sink) using penetrating oil and wrenches, and lift the faucet straight up to free it from the sink fixture. If the faucet sticks to the sink, slide a putty knife along the faucet base to cut through any residual putty or caulking.
To attach your new faucet fixture, first use plumber’s putty to attach a cover piece, called an “escutcheon,” to the sink base. Align the holes on this cover with the holes on your sink and firmly press the cover onto the base. Slip the new faucet through the base and cover, and remove any excess putty. Then, reinstall mounting nuts beneath the sink and connect water lines to the new fixture. Test the water lines and faucet by slowly running water, and check for any leaks or loose connections in your new faucet. Make sure that both hot and cold water are running smoothly through the new fixture.
The Repair: Plumbing Trap Cleaning
If you have noticed unflattering odors coming from your drain, or frequent clogging, a problem may exist with buildup in your sink’s plumbing trap. The plumbing trap is the curvature along your sink’s pipe line that uses water to create a barrier from the air in your home and sewer gasses. As a low-point in the plumbing system, this trap can easily become clogged.
This trap can be easily removed using a wrench or pliers to loosen the fixture. Water and debris are likely to flow out when the trap is disconnected from your pipes, so have a bucket or catching container handy. Once removed, a simple wire brush can effectively clear out any buildup and residue in the trap, and smooth the trap’s inner walls to optimize water flow. Reattaching the pipe trap is done using the same tools and connecting nuts from removing the trap. Run water through the cleaned trap to check for leaks and recreate the water barrier between sewer gasses and your drain.
Additional Plumbing Tips
In addition to the basic plumbing instructions provided above, here are some helpful and useful tips you can use to improve your kitchen’s plumbing system and DIY repair efforts:
- Avoid disposing fibrous, stringy foods, cooking oils, or ‘instant’ mix products in your garbage disposal; they frequently clog and damage drains.
- Steer from using chemical drain products in your pipe repairs, as these can cause additional and unnecessary pipe corrosion. Plumber snakes are the most effective alternative to chemical solutions.
- Use drain covers or strainers to catch hair, hard food material and debris from entering and eventually clogging your water pipes.
- Monitor your water meter and water use bill for spikes in consumption, as these increases can indicate leaks and damage in your water pipes.
- For major damages, pipe replacements and other renovations, do not hesitate to call a plumbing professional. The experienced contractors of Express Sewer & Drain are always available to tend to plumbing needs in your Sacramento home.
DIY repair projects can be a simple and cost-effective way to optimize your kitchen’s plumbing performance. With the right tools and know-how, you can fix many common kitchen water pipe issues and perform necessary replacements. However, when dealing with significant damages or persistent adverse water conditions, contact your local plumbing service professionals for additional assistance. For more information on home kitchen repairs and other DIY plumbing operations, contact us today.
Topics: Pipe Bursting, Home Plumbing, DIY, Drain Cleaning and Repair