Posted by Express Sewer & Drain Team on
 Does a spinning faucet handle have you spinning your wheels? It’s a common household problem, and it happens with almost all handles over time.
The good news is that like a number of sink issues, a DIY faucet handle fix can be completed in just 10 minutes with nothing more than a couple screwdrivers, a wrench, and about $20. And while there are numerous models and types of faucets out there, we’re going to focus on faucet stem replacement of the two-handle variety—in just five easy steps.
Before we get started, you may be wondering what caused the problem. It’s usually a result of wear and tear on the faucet stem, or cartridge. The cartridge attaches to the handle and the two components work together to control the water flow. When the stem becomes stripped, the handle will feel loose or just spin on end.
How to Fix a Stripped Faucet Handle in 10 Minutes or Less
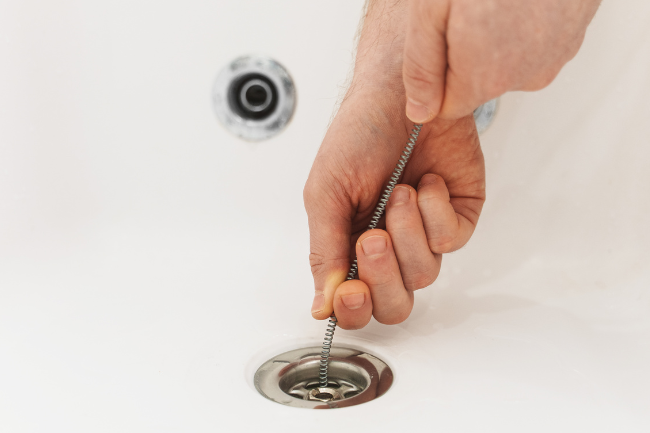
1. Turn off the water (and cover the drain!)
If you’re working on the sink, you can usually find the valve and handle right below it or within the cabinet it’s built into. Turn the handle clockwise—righty-tighty—to shut off the water supply. If you’re taking care of a bathtub, you’ll generally need to turn off your home’s main water supply. We also recommend covering your drain; it’s an easy-to-miss step that can result in screws and other items being lost forever.
2. Remove faucet handles or cover plates
Depending on where the faucet body attaches to your faucet cartridge, you’ll need to remove either the faucet handles or decorative cover plates. Handles can usually be unscrewed using your fingers, whereas the cover plates can be popped off using a flathead screwdriver. The connecting screw may be either a Phillips head screw or an Allen screw, each requiring their respective tool for removal.
3. Remove locking nut
On most models, removing the faucet reveals a locking nut that secures the cartridge; this can be removed with nothing more than a pipe wrench. Note that there is a small brass screw on the top of the cartridge; we recommend removing this and setting it aside as not all replacement cartridges will include a new screw.
4. Remove the faucet cartridge
With the locking nut off, the old cartridge can be lifted right out (if there’s resistance, that’s not uncommon. Just reach for the pliers). If you don’t already have the replacement, a trip to the hardware store is in order; bring the old cartridge for comparison to make a foolproof purchase.
5. Replace and retrace
Once back home, replace the cartridge (no new screw? Good thing you kept those old ones!). Once that’s in place, follow the removal steps in reverse order until your faucet is back in business. That’s all there is to it. Easy, right? Now, if you’d like to prevent future faucet handle repair, tighten the set screw any time the handle begins to feel a little loose. This should slow the stripping process and keep the water flowing for years to come.
Need Plumbing Experts? Contact Express Sewer & Drain in Sacramento
Have bigger issues than a stripped faucet handle? Think it’s time to bring in a professional? You can count on us. The experts at Express Sewer & Drain, Sacramento’s choice for faucet repair and installation, can help with any plumbing issue.

Topics: Home Plumbing, DIY