Posted by William Heinselman on
 When renovating your home, there’s a good chance your plumbing system and fixtures will come into play at some point. Replacing existing sinks and faucets with high-efficiency alternative models is a common plumbing task homeowners take on, and while you may be pressed to contact a plumber to do the job for you, it’s more than likely you can complete the entire project on your own.
In this blog, we outline the steps you should take and tools you need to install a new kitchen sink entirely on your own, hassle-free and at a fraction of the cost of hiring a professional plumbing service.
Step 1: Tools and Necessary Preparations
As with any other DIY plumbing task, the first step in replacing an old kitchen sink is making sure you have all the necessary tools for the job at your disposal and preparing your work area. Without the right tools, you only set yourself up for mistakes, which can cost you and even damage existing kitchen surfaces and plumbing.
Make sure you have all of the following materials before replacing your kitchen sink:
The replacement sink, of course
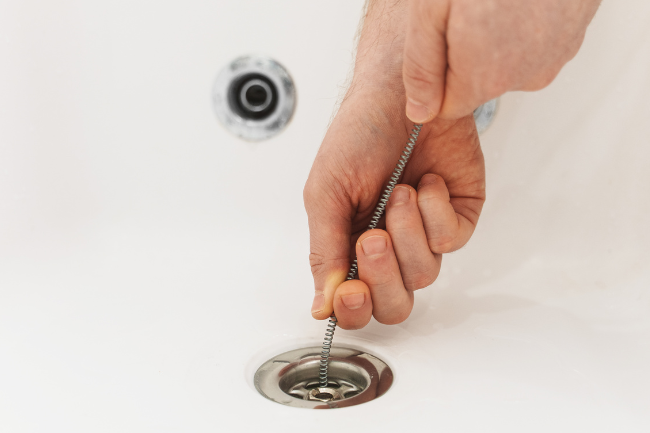
- A new sink strainer
- A basin wrench
- A box cutter
- Channel-locking pliers
- A bucket to catch water
- A putty knife
- Spare Towels
- Plumber’s putty and caulk/caulk gun
- Tape measure
Step 2: Removing the Existing Sink
Now that you’re ready to actually remove your old sink, start by opening the faucet (turning it “on,” so to speak) and disconnecting the water supply entirely. Use a basin wrench and channel-locking pliers to do so safely, without damaging the supply line. Next, disconnect the faucet and handles from the sink body, as well as a soap dispenser if there is one. This is when a small bucket may come in handy, if residual water starts to leak out of the pipes and supply lines.
Before moving on, make sure to disconnect your sink’s garbage disposal from its power source.
With the disposal powered off, use pliers to disconnect the drain pipe and trap from beneath the sink (it’s probably a good idea to have that bucket on hand now, as well!). Now, remove the slip nut and drain from beneath your sink, and follow manufacturer’s instructions to carefully remove the garbage disposal unit (not all models are the same, of course).
The final step in removing your old kitchen sink is loosing the clamps holding it in place under the sink body, and using a box cutter to cut through any caulking between the sink and your counter surface. Now, you can lift out your existing sink and clear the work area for its replacement.
Step 3: Applying New Caulk and Placing the New Sink
With the old sink removed completely, the next step in installing a new model is applying caulk along the inner, underside edges of the new sink model. The new sink can now be installed in the old model’s place, and extra caulk smoothed out following placement. Use the same clamps that held the old sink in place (the ones loosened in Step 2) to grip your new sink model.
The next step in installing your new sink is fitting the faucet(s), handles and soap dispensers (if applicable) back in place, and reattaching the water supply line. With fixtures attached, you can move on to installing your drain and turning the water supply back on.
Step 4: (Re)Installing a Drain and Garbage Disposal
The next, and ultimately final, step in installing a new kitchen sink is installing or reinstalling your sink drain. For entirely new drains or old ones, attaching the unit to your sink is the same. Use plumber’s putty as an adhesive to bind your drain unit and strainer, and place these parts in their respective sink holes. Install the nut and washer that came with the new drain unit, or reinstall your old ones if you’re using your old drain fixture. Finally, remove any excess putty that escapes around the edges of your drain.
Follow manufacturer’s instructions when reinstalling your kitchen sink’s garbage disposal, and reconnect the unit to its power source. Test the unit for any signs of leakage, and your new sink should be ready to go.

Topics: Home Plumbing, DIY, Drain Cleaning and Repair