Posted by William Heinselman on
If installing a toilet in your home brings you dread, breathe a sigh of relief - DIY toilet replacement is surprisingly easy! If you have the right tools and a few hours to spare, toilet installation is not as difficult as it sounds.
In our guide, you will learn:
- Basics of toilet installation
- How to install a toilet bowl
- How to install a toilet tank
- How to remove toilet tanks & bowls
- What to look for when checking for leaks
With this essential guide to installing a toilet, you can put down the phone to call a plumber and get to work right away!
How to Install a New Toilet
If you’re installing a toilet, you need to first measure the area to be sure your new toilet will fit and to help decide what shape you need. Generally, toilet bowls are elongated, but a round bowl may be necessary if you have a smaller space.
Start by measuring from the back wall (not from the baseboard) to your closest bolts, where you can secure the toilet to the floor. Also be sure to measure any nearby water supply lines on the floor and the distance from the sidewall, just to make sure the toilet bowl will fit.
Once you have the measurements for your new toilet and have one picked out, it’s time to remove your old toilet.
What To Do When Replacing a Toilet

Turn off the Water Supply
When you’re ready to replace your old toilet, make sure to shut off the water. You can do this by turning off the shutoff valve either on the wall or on the floor behind or beside the toilet. This valve is responsible for controlling the water flow into the supply line and then into the toilet tank.
Next, disconnect the water supply line from the old toilet tank. It would be wise to wear gloves and to place a bucket to catch any water remaining in the bowl or water lines. Remove any leftover water from the tank with a sponge.
Separate the Toilet Bowl from the Tank
Next, unscrew the nuts on the bottom of the water tank to lift off the bowl. Although you can do a DIY toilet replacement solo, working with a partner may be helpful since a tank can be heavy.
Once the bolts are unscrewed, you can remove the toilet tank. It may be necessary to hold the top of the bolt within the tank while you’re removing the nut below the back of the toilet bowl.
Unbolt the Toilet Bowl
The next step to your toilet installation is to unbolt the toilet tank from the floor. You can pop the toilet bolt caps with a screwdriver if needed. With an adjustable wrench or pliers, remove the nuts and washers on the toilet’s bolts. These secure the toilet bowl to the floor.
Sometimes, nuts will be rusted in place. If this is the case, use heavy-duty lubricant to loosen the nuts. This should loosen the nuts just enough to turn the screws to create enough space to hacksaw the bolts off.
Remove any Old Caulk & Wax
If there is any caulk around the toilet bowl’s base where it meets the floor, you’ll have to remove it. Take a utility knife and cut it through the caulk seam. Once the caulk is scraped off, gently rock the toilet bowl back and forth until it is free from the base. Set it aside in a garbage bag.
Once the toilet bowl is removed, it will expose the old wax ring. Since the wax cannot be reused, this will also have to be removed. Stuff a rag into the hole to prevent anything from falling into the drain and to block smelly sewer gases. With a putty knife, remove any excess wax on the top of the drain pipe (also known as the flange). You can wipe away any excess wax with a sponge or wipe as well.
Install a New Flange & Wax Ring
The flange is the top of the drain pipe and creates a connection between the floor and the toilet. An old flange may be cracked or broken and need to be replaced. However, if it is still in good condition, there is no need to replace it.
Unlike the flange, the wax ring always must be replaced when installing a toilet. You can either attach the wax ring to the bottom of the new toilet bowl or (the more popular option) you can install the wax ring on the flange prior to installing the toilet bowl on top.
Attach Toilet Bowl to Flange
Once the wax ring is set, it’s time to insert your new toilet bowl! When installing a toilet bowl, lower it carefully straight down into the flange to prevent damage to the wax ring. Once attached, firmly press down on the bowl and make sure it’s square with the back wall.
To make sure your new toilet bowl is secure, add washers, nuts, and cap bases to the closet bolts. Make sure the nuts are equally firm and tighten to distribute pressure; if you tighten one too much, the bowl could crack. Then, use a hacksaw to cut off the excess bolt and snap on the caps.
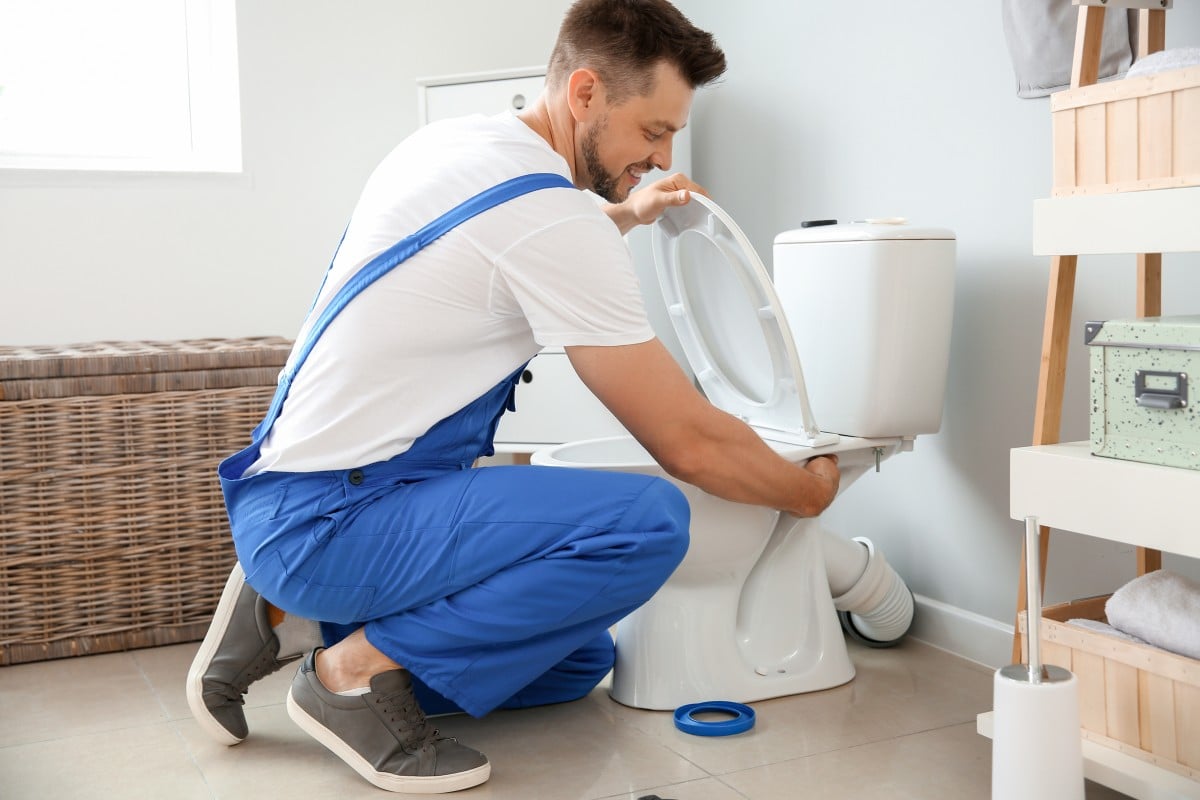
Insert the Tank
If the toilet tank is not attached to the bowl, now is the time to insert it. Install the tank by placing it onto the toilet bowl and aligning the bolts with the holes in the bowl. Tighten each toilet tank bolt to secure the tank to the toilet bowl until the tank is pulled down and is in contact with the bowl.
Once the toilet tank is secure, reattach the water supply line to the ti the fill valve sticking from the tank’s bottom and to the supply valve from the wall or the floor beside or behind the toilet.
Check for Leaks
Once the toilet tank is securely hooked up to the bowl and connected to the water supply line, it’s important to check for leaks or any problems. Slowly turn on the water and let the tank fill. Flush the toilet a few times and check for leaks around the water supply line, the base of the toilet, and where the tank and bowl meet.
If you do detect leaking around the supply lean, just tighten the bolts a bit more. If there is leaking around the toilet’s base, it means there is a problem with the wax ring. If the wax ring isn’t creating a proper seal, water will leak out. If this is the case, you’ll have to remove the toilet and install a new wax ring. When originally replacing a toilet, make sure to set the toilet in place so you don’t damage the wax ring and have to repeat the previous steps all over again.
If there are no leaks, then congratulations! You now know how to install a toilet successfully. Remember to purchase and attach a toilet seat and you’re good to go with your new toilet.
What to Avoid With DIY Toilet Installation
When it comes to DIY toilet installation, there are a few key things to avoid to ensure a smooth and successful process. One of the biggest mistakes to steer clear of is rushing through the installation without properly measuring and preparing the area. Taking the time to measure the space, remove the old toilet carefully, and ensure a proper seal with a new wax ring will prevent future issues like leaks.
Additionally, avoid overtightening bolts, as this can lead to cracks in the toilet bowl. If you encounter any challenges or are unsure about the installation process, don't hesitate to seek help from a professional like Express Sewer. Our expertise can provide valuable assistance and ensure your new toilet is installed correctly, saving you time and frustration in the long run.
Having Trouble with the New Toilet Installation? Contact Express Sewer
If your new toilet is exhibiting problems and you’re having difficulty determining how to repair it, contacting a professional will help alleviate your frustration and determine the best solution for your toilet.

Topics: Home Plumbing, DIY